
Oct
30
Reverse Engineering
Hey Hawkeyes!
Is anyone else surprised that Thanksgiving break is so close? My roommate and I counted the days until break starts. We were both surprised to find out that there are exactly 14 school days until break. On one hand it’s exciting that we finally get a break, but on the other hand it means that the next round of tests is right around the corner. I have an exam tomorrow night (eek!) and then another one next Tuesday, and one the Thursday after that. And actually, I’m pretty sure I have a math exam somewhere in there too.
Anyway though, for an update on my current life. My weeks have been getting busier and busier, which is strange because some of my classes are already starting to wrap up. However, the classes that I do have are still going strong. In my engineering class, the lecture part is ending but the discussion is still going. The discussion part is all project-based. The most recent project was toy dis-assembly. The main idea of this project was to reverse engineering a toy. We had to make an estimation about how a toy worked and then disassemble it and figure out how it actually worked. The toy my group chose was a Playskool Ball Popper. After removing the three screws from the bottom of the toy, we discovered there weren’t any more screws. The top button part was held in by notches around the casing. We also discovered the these notches were extremely hard to get out. The first time we took it apart we needed three people to get the notches out. We also knew we needed pictures of the disassembled item for our end presentation.
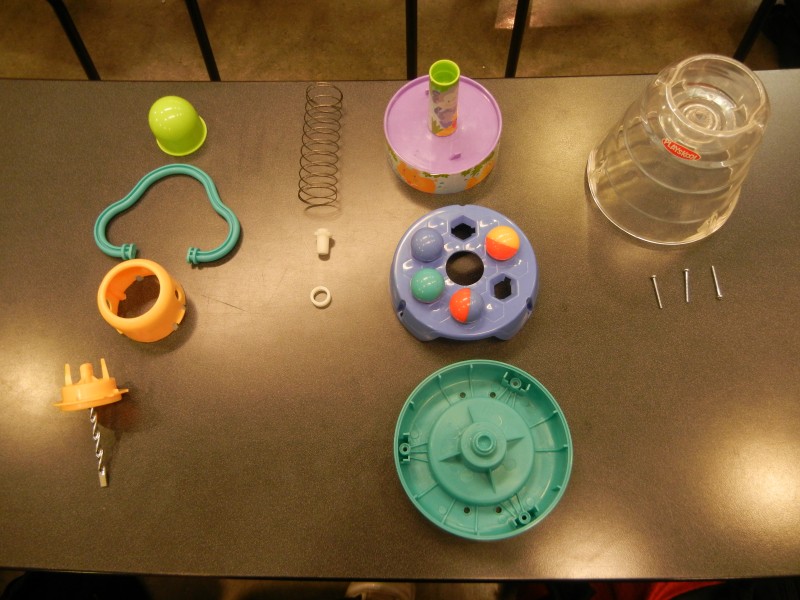
All the pieces from our toy
After taking more pictures and studying the pieces, we put it back together. Part of our project grade is making sure it works at the end. One of our group members got a little excited and put the notched piece in too soon.
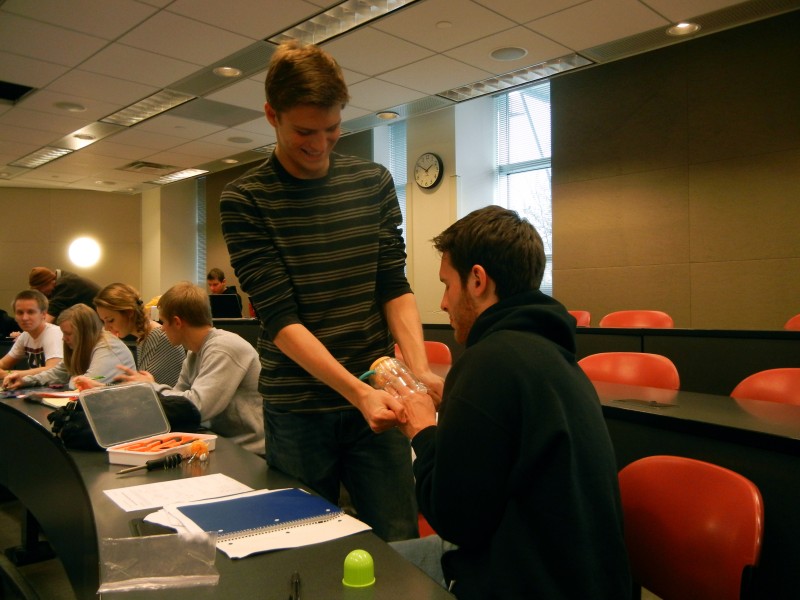
They spent several minutes trying to take it apart again.
When we finally got it apart, again, we put the right pieces in and clicked everything into place only to discover the handle was turned the wrong way. So we had to take the whole thing apart again.
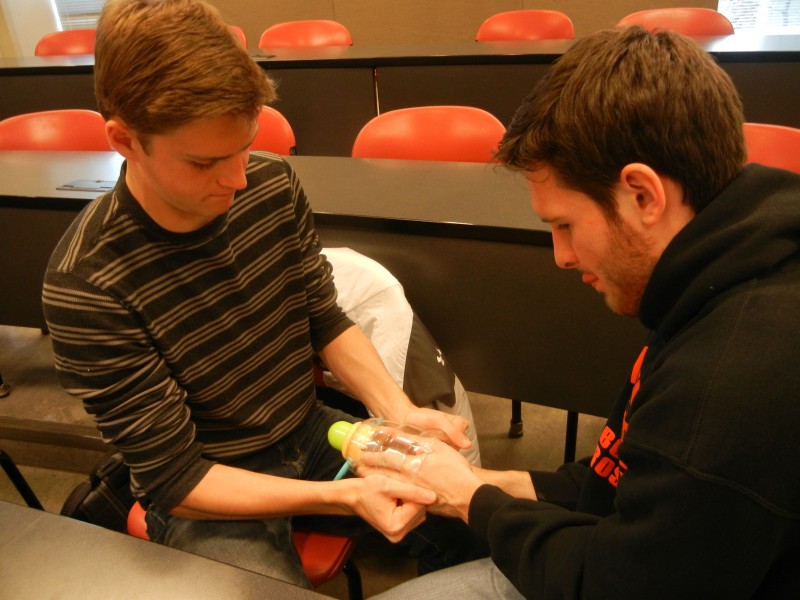
Taking it apart…again
Every time we took it apart we got faster at it, but we made sure this was the last time we had to take it apart. We put everything back together and it actually worked.
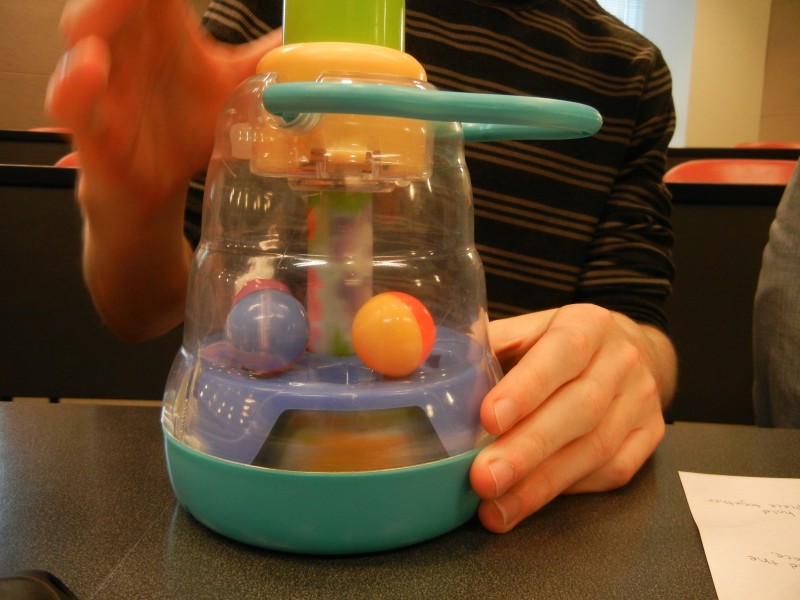
The completed working toy.
We then had to make a whole presentation about the dis-assembly process and describe the operation of each of the pieces. I think our presentation went really well and the peer feedback was positive. Now we just have to wait for the grade. Now we’re getting ready to start our final project. I’ll keep you updated on that project. Until my next post (which will hopefully be soon), have a good week!
 Subscribe to Sarah's blog via RSS