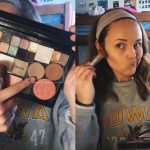
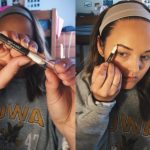
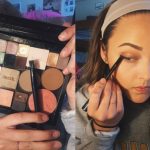
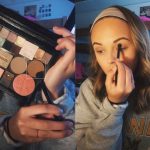
A huge hobby of mine is experimenting with makeup by trying out new colors, techniques and products. However, the college life doesn’t really promote this practice. I’ve noticed that a large majority of girls on campus aren’t dressing up or putting on much makeup for every day classes because no one here really cares. And as awesome as it is to be in an environment that’s much less judgmental than high school, my makeup-loving self starts to feel a little out of place.
No, I do not cake my face every day with pounds of makeup. Frequently I try to have makeup-free days to let my face breathe (because it’s healthy). But some days, I just need it to feel cute and confident. I definitely do feel more willing to talk to people and put myself out there if I’m feeling comfortable in my own skin. I understand that confidence comes differently for everyone but when my eyebrows are on fleek and I’m wearing my favorite lip product, I feel like I can do anything.
This look isn’t quite as glam as I can get; and if you know me, I love pulling off glitter on my eyes for a casual look. However this is the typical makeup routine I’ve obtained while at college and I usually go for it if I want to play it safe while still feeling confident. I also made sure to include some of my tips on finding inexpensive alternatives to the more high end products I used. Enjoy!
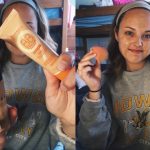
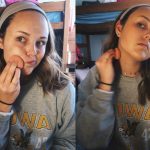
First I start off by applying foundation. I’m using two products because it’s that weird time in between Summer and Fall where I start losing my tan. I stopped by CVS in the Old Capitol Mall and bought some lighter BB cream so that I could mix it with my darker foundation to make my perfect shade. I then placed my new mixture on my face with my fingertips in little circles and blended it out with my dampened Beauty Blender. Dab the foundation in with the sponge and don’t forget to blend down your neck to avoid harsh lines on the edge of the face.
I really like the formula of the BB cream by itself because it’s coverage is light but gives my skin a really nice glow. This specific product was around $6 and I’m all for saving money whenever I can, especially when it’s with makeup. You also don’t have to spend the money on a beauty a Beauty Blender if you’re wanting a good makeup sponge. Real Techniques is a brand that sells makeup tools and brushes, and they sell their sponge for $7 at ULTA, Walgreens, Walmart and online through Target (where its only $4.99!!)
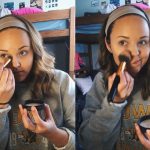
Next, I’m applying my holy grail concealer, from Maybelline’s FITme collection, and used the pointed end of my Beauty Blender to blend it in. Gotta hide the dark circles from staying up late watching Netflix all night. I then take my Laura Mercier translucent powder and a small, dense powder brush to set the concealer. I’ve had this product for a while now and honestly, Rimmel’s Stay Matte pressed powder works just as well for about ten times cheaper (I’m not kidding).
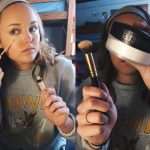
The brushes I’m using are from the brand bhcosmetics. Their store is online and they sell large brush sets for under $20! They’re pretty good quality for the price and for the amount of brushes you get and I’d definitely recommend them to anyone who wants to buy a set while on a budget. I’m using ones from the the Sculpt and Blend 2 – 10 piece brush set ($14.99!)
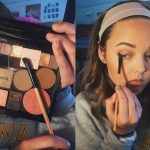
Before I get into the next step I want to make sure I mention how great this palette is. Before moving in, I decided to go through with purchasing a large Z Palette to put all of my most used eye-shadows and face products with metal plates all in one place. This really made packing easier while moving and it’s totally customizable. They have smaller sizes sold at Sephora, but the larger (more inexpensive) ones can be found on Amazon.
For my contour, I’m using a “handy buki” brush from bare minerals to apply two shades I took from my Anastasia Contour palette in light to medium.
Shortly after move-in, I broke the spooly (swirly brush thing) on the end of my only eyebrow brush so I had to make another trip to CVS and find another one. Luckily I found one, and for a really great price! Wet and Wild isn’t known for having great quality but I actually really like this product AND it was only $2. Score.
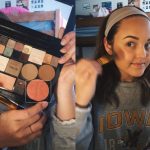 Now taking my Sephora blush in the shade No. 6 Heated, I’m going to apply it directly above where I applied my contour and right beneath my cheekbone. I really like this shimmery blush because it adds a nice flush of color to my face while also giving me some added sparkle.
 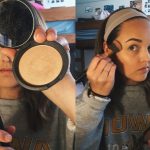 To finish up my face, I’m going to highlight the tops of my cheekbones with Becca Cosmetic’s highlighter in the shade Opal. This is another one step that can easily be replaced with a cheaper product. ULTA sells products from the brand Revolution and they carry really high quality highlighters for a very reasonable price.
For my eyes, I start by taking a fluffy eyeshadow brush and lightly dip it in the same warm bronzer I used as my contour. I placed this color in the hollows of my eyes, or the crease, to give them depth. I then take an even darker, chocolatey brown with a more angled fluffy brush and work that into the outer V of my crease to create a blurred angle on the outside of my eye. Finally, I take a flat eyeliner brush and a mixture of brown and black eyeshadow to create a muted, soft-looking wing.
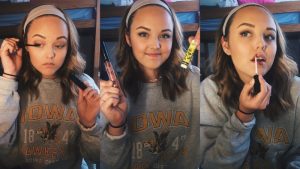 I finish my eyes off with a layer or two of mascara and then move on to lips. I always try to prep them with a layer of lip balm before applying other products (this is one that I happened to get for free in my first few weeks of being on campus). And last but not least, I top it off with my favorite lip product at the moment, Candy K gloss from Kylie Cosmetics.
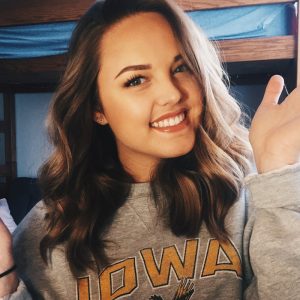
And then I’m done! My makeup routine is pretty inconsistent and I either apply less or more than this depending on the occasion or my mood. However, this look is what I go for when I don’t know what else to do and want to keep it simple. It’s not a bad thing to go all out on your makeup, and it’s certainly not a bad thing to wear none at all if that’s what makes you feel comfortable and confident 😊✨
